You don’t need a degree in graphic design to create great-looking content. Wallboard gives you all the tools you need to make changes to images, shapes, and text directly within its built-in editor. Below, I will share with you just a few tips that I use on a daily basis when designing content for clients.
Background images and Shapes.
If you want to start deigning content typically you want to start with furthest layer back, that being the background. While backgrounds can be as simple as a solid color, I wanted to share with you one of my favorite ways to add a bit of depth to content pages.
To begin, always ensure that your canvas’s dimensions match the resolution of the screen the content will be assigned to. Make sure your background image is set to that same resolution.
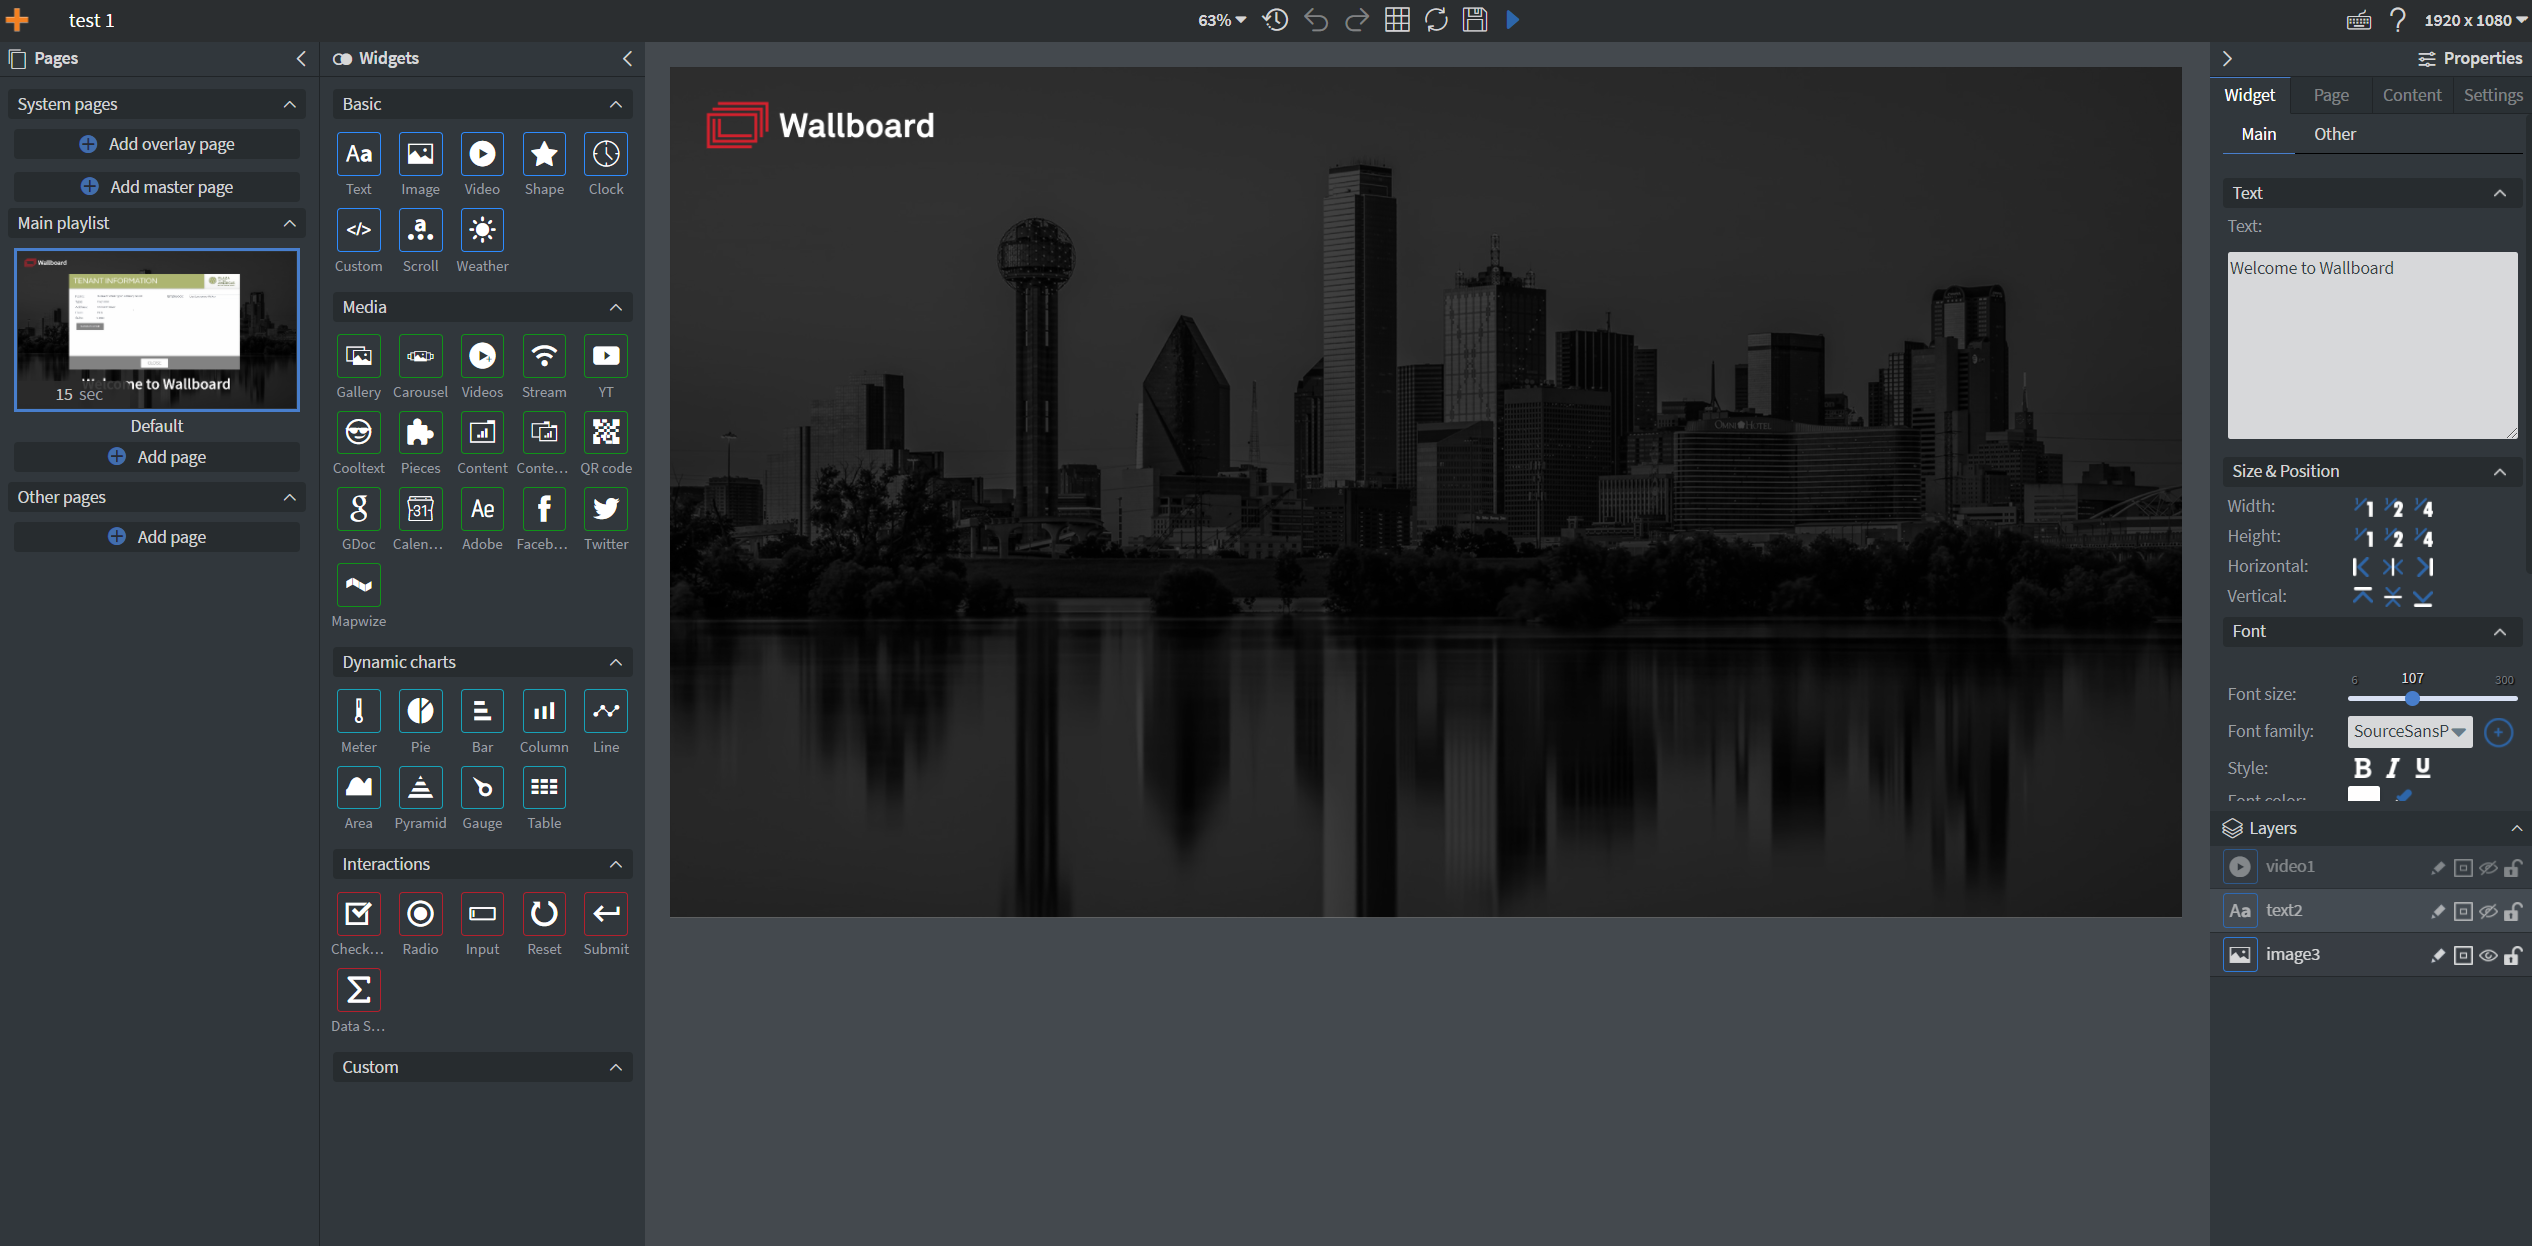
Next, you will want to add an image widget to the page. If you are using multiple pages, it may be best to do this work on the master page. After the image widget has been added to the page, size the image to fit the canvas and add an image to the widget from your file library. Check out our video tutorial on the image widget if you are unfamiliar with how to do this.
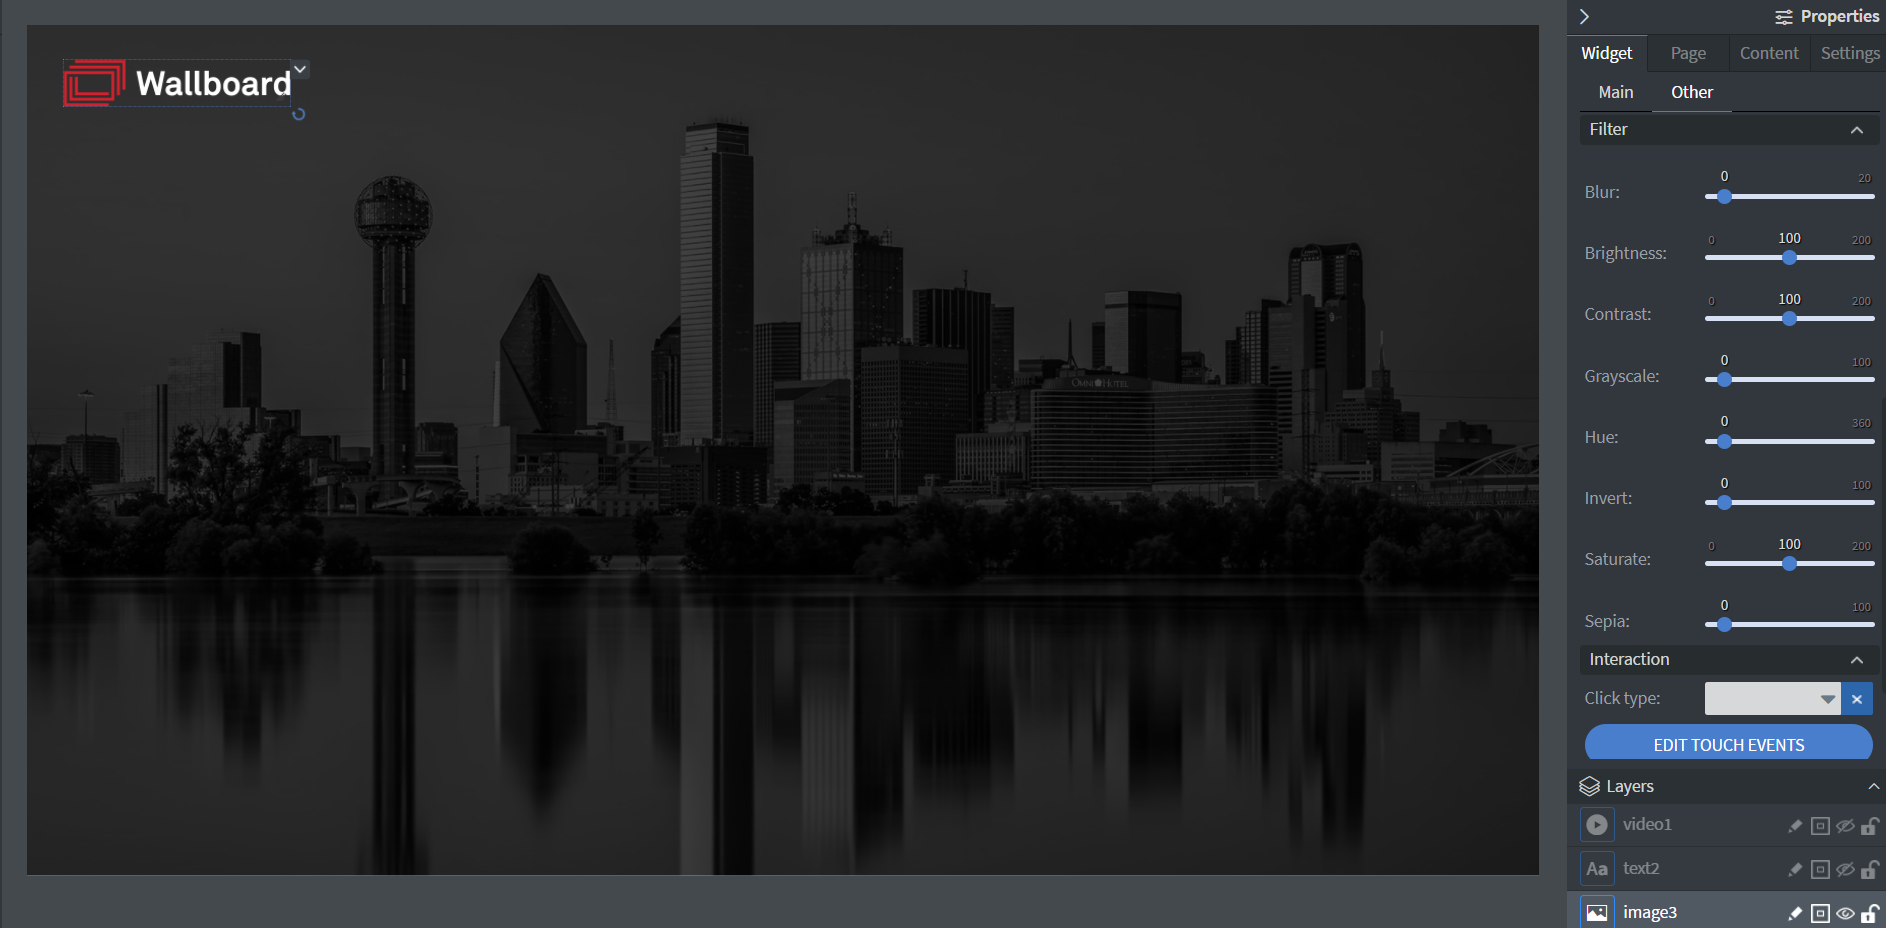
Under the OTHER tab in the image properties (located on the right side of the editor when the image widget is selected), we will change the image to black and white by lowering the greyscale setting to zero.
Once the background image is where we want it, we will add a semi-transparent shape on top of the image by following the steps below. For a refresher on how to use the shape widget, watch our video tutorial.
- Add the shape widget into canvas
- Change the shape to a “simple box”
- Size the shape to fit the whole canvas
- Set the line width of the shape to zero
- Create a gradient
- Add colors to the shape that match your brand.
- Adjust the opacity of the shape to 80% - 90% so the background image shows through
There you have it! You have just created a great looking background to use for your content pages. Feel free to play around with this and add a header, body text, and/or a logo to the page. If you find that the background image is causing issues with the readability of your text you can always adjust the opacity of the shape, add a blur to the image, darken the image, or swap it out for another.
Daily Temperature, Time, and Date.
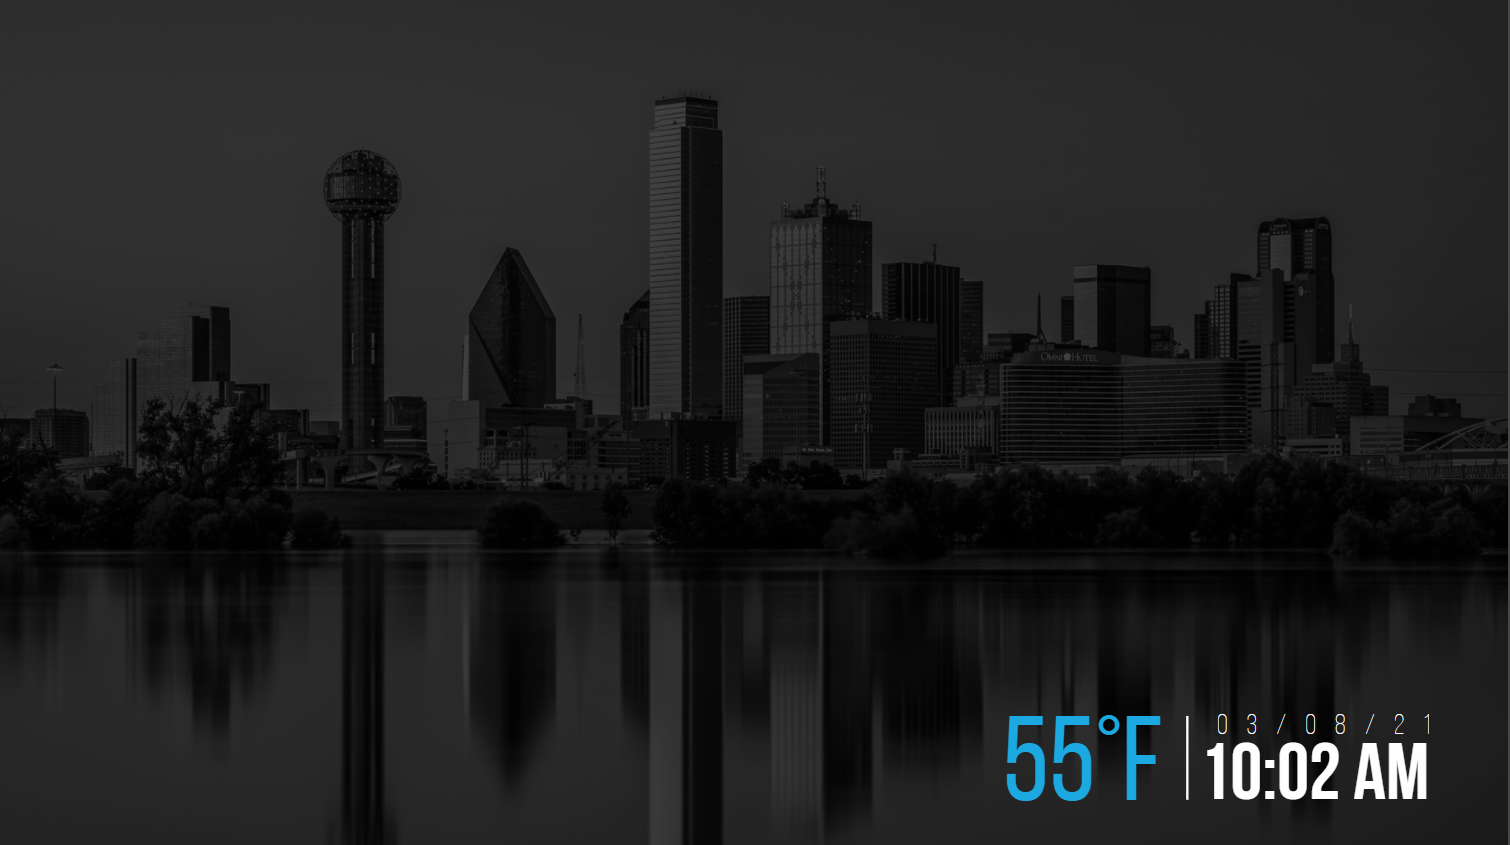
There are a few built in weather and time/date preset layouts that come with Wallboard’s platform. While it can be easy to click and drag these elements onto the canvas and say “job done”, there are a few steps we can take to make the widgets look a little better. In this example, we will be creating a grouping that will sit nicely in the corner of a page’s header or footer.
- To start, add the Clock Widget to the canvas. Clock Widget Tutorial.
- Change the Clock Type from Analog to Digital.
- Change the Clock Format to h:mm a.
- Duplicate the widget (Ctrl + C, Ctrl + V).
- Change the Clock Format of the duplicated widget to MM/dd/yy.
- Place the date above time.
- In the OTHER tab, change the font family, size and color as needed.
- Make the date's font size smaller than the time to create contrast.
- Change the letter spacing of the date to match the width of the time.
- Next, we want to add in the daily temperature via the Weather Widget. Weather Tutorial Video.
- Plug in your city
- Turn on the partial toggle.
- select Temperature under Part.
- In the OTHER tab, adjust the font family and color as needed.
- Adjust the font size of the temperature to match the combined height of the time and date widgets.
- Place the weather widget to the left of date and time.
- Use the Shape Widget set to vertical line to separate the time and temperature.
And there you have it. Just a couple tips that will drastically improve the look and feel of your content. For more design tips or to stay in the know about Wallboard and its digital signage products, be sure and subscribe to our blog.